Friday, 12 July 2013
*Right Click - Open Link In New Tab - On All Images To View Full Size*
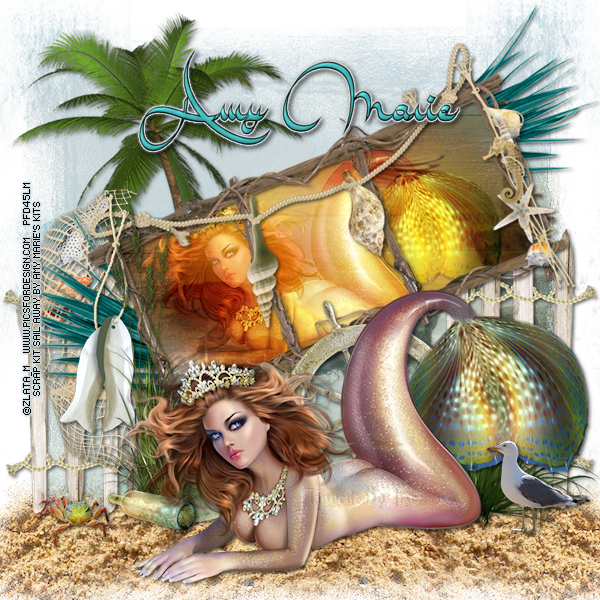
PTU Seamaid
This tutorial was written by me on July 12, 2013.
It was made out of my own creation and any similarity is purely
coincidental.
I used PSPx2 but any version would work.
Artist: Zlata_M
This is a prepaid tube that was gifted to me.
You can only get it if it was also gifted or you are in their Exclusive Club.
Do not use this tube
unless you have a license.
Scrap Kit: Sail Away by Amy Marie’s Kits
You can find this kit at
Amy Marie’s Kits Store HERE
Mask: MC_Masks 11 HERE
Font: Amal Font HERE
Here goes:
Let’s start with the mask layer:
New Raster – 800 X 800.
Open PP5.
Open mask and minimize.
SELECTIONS – SELECT ALL – Copy and paste PP5
into selection. Go to LAYERS –
NEW MASK LAYER – FROM IMAGE – SOURCE LUMINACE
- CHECKED – from drop down menu, find MC_Masks 11 – OK. Duplicate and merge down.
Let’s do the frame layer for now:
Element 20 – C/P and move up just a little bit. Free Rotate left 20º
Grab your freehand selection tool. Make a rectangle around frame. Like this:

New Raster Layer. Move under frame
layer. Open PP4. Copy and paste
into selection.
Keep selected. Open tube if you
are using the same one as me. C/P and choose tube version you like. Re-size 50%. Move into position.
SELECTIONS – INVERT – DELETE – INVERT.
Duplicate tube layer.
ADJUST – BLUR – GAUSSIAN BLUR – RADIUS 25 - OK
Change BLEND MODE of copy of tube layer to HARD LIGHT and go to original
tube layer and change BLEND MODE to OVERLAY.
(see tag for placements)
Now for some elements:
Element 23 – C/P and move to bottom right corner under all frame layers. Duplicate and mirror.
(see tag for placement)
Element 74 – C/P and move to bottom right side of tag. Duplicate and mirror.
(see tag for placement)
Element 81 – C/P and move to bottom left side of tag.
(see tag for placement)
Element 68 – C/P and re-size 70%. Move to left side over fence (element 74).
(see tag for placement)
Element 46– C/P and move top right corner of frame (element 20). Duplicate and mirror. Move to top left side of frame.
(see tag for placement)
Element 28 – C/P and free rotate 20º left. Move to top and in front of frame.
(see tag for placement)
Element 60 – C/P and re-size 50%. Move down and to left side of tag under frame (element 20).
(see tag for placement)
Element 78 – C/P and re-size 70%. Free rotate 8º X 3. Move up to right corner of frame (element 20).
(see tag for placement)
Element 54 – C/P and re-size 85%. Move to bottom left of frame (element 20).
(see tag for placement)
Element 52 – C/P and re-size 50%.
Move down and in front of element 54.
(see tag for placement)
Element 50 – C/P and re-size 50%. Move down and in front of element 52.
(see tag for placement)
Element 22 – C/P and re-size 30%. Mirror and move down and in front of element 50.
(see tag for placement)
Element 76 – C/P and move to bottom right of tag in front of fence (element 74).
(see tag for placement)
Element 51 – C/P and re-size 75%.
Move to the bottom middle of tag beside element 76.
(see tag for placement)
Element 49 – C/P and re-size 40%. Move to lower left side of tag.
(see tag for placement)
Element 9 – C/P and re-size 40%.
Move to very bottom right side of tag.
Now the tube layer:
If you are using the same tube as me,
C/P tube and re-size 65%.
Move to bottom middle of tag behind element 9 (seagull).
(see tag for placement)
Add drop shadow to layers of your choosing.
I used
V & H 2
Opacity 70
Blur 7
Color Black
Now you can add name and © information. Save as .png
and re-size if you wish.
I re-size before I save and add name and © info.
Let me know what you think of this tutorial.
Subscribe to:
Post Comments
(Atom)
0 comments:
Post a Comment