Showing posts with label Renee Biertempfel. Show all posts
Showing posts with label Renee Biertempfel. Show all posts
Saturday, 6 June 2015

PTU Spring Breeze
This tutorial was written by me on June 6, 2015.
It was made out of my own creation and any similarity is purely
coincidental.
I used PSP X6 but any version would work.
Artist: Renee Biertempfel
You can find this tube at Creative Design Outlet HERE
Do not use this tube
unless you have a license.
Scrap Kit: ScrapLHD_SpringsAwakening-mini by Ladyhawwk Designs
You can find this kit at Creative Design Outlet HERE
You can find this kit at Creative Design Outlet HERE
Mask: WSL 3 HERE
Let’s start with the mask layer:
New Raster – 800 X 800.
Open Paper 12. Open mask (WSL 3) and minimize.
SELECTIONS – SELECT ALL – Copy and paste Paper 12 into selection.
Go to LAYERS – NEW MASK LAYER – FROM IMAGE – SOURCE LUMINANCE - CHECKED – from menu, find WSL 3 – OK.
Duplicate and merge down.
(see tag for placement)
Let’s start with the mask layer:
New Raster – 800 X 800.
Open Paper 12. Open mask (WSL 3) and minimize.
SELECTIONS – SELECT ALL – Copy and paste Paper 12 into selection.
Go to LAYERS – NEW MASK LAYER – FROM IMAGE – SOURCE LUMINANCE - CHECKED – from menu, find WSL 3 – OK.
Duplicate and merge down.
(see tag for placement)
Grab your magic wand tool and click in the middle of frame.
SELECTIONS - INVERT, grab the eraser tool now. Erase the parts of the original tube you don't want. SELECTIONS - SELECT NONE.
Element 8 - C/P and move to right side of tag. Make sure this layer is UNDER the frame layer(s). Duplicate and mirror.
Element 14 - C/P and re-size to 50%. Move to middle right side of frame. Make sure this layer, and all other layer(s), are OVER the frame layer(s), but under original tube layer.
Add drop shadow to layers of your
choosing.
I've used
V & H 2
Opacity 70
Blur 7
Color Black
Now you can add name
and © information. Save as .png and re-size if you wish.
I re-size before I add
name and © info and then save.
Let me know what you think of
this tutorial.
Friday, 16 January 2015
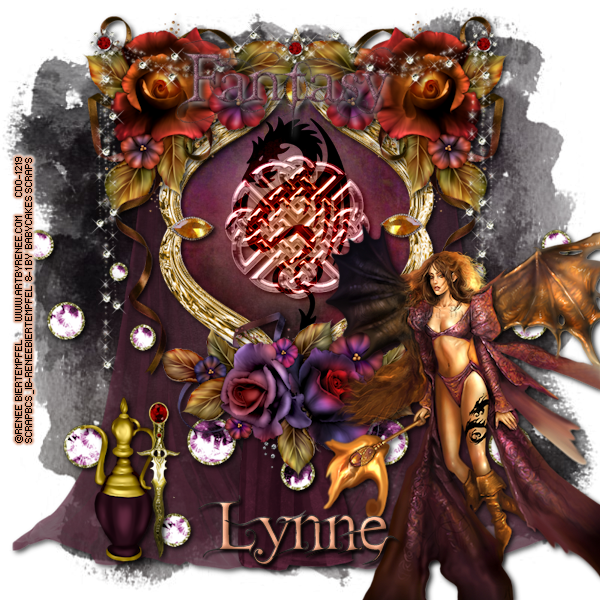
PTU Dragon Magic
This tutorial was written by me on January 16, 2015.
It was made out of my own creation and any similarity is purely
coincidental.
I used PSP X6 but any version would work.
Artist: Renee Biertempfel
I bought this tube at Creative Design Outlet HERE
Do not use this tube
unless you have a license.
Mask: WSL 254 HERE
Let’s start with the mask layer:
New Raster – 800 X 800.
Open Paper 5. Open mask (WSL 254) and minimize.
SELECTIONS – SELECT ALL – Copy and paste Paper 5 into selection.
Go to LAYERS – NEW MASK LAYER – FROM IMAGE – SOURCE LUMINANCE - CHECKED – from menu, find WSL 254 – OK.
Duplicate and merge down.
(see tag for placement)
Let’s start with the mask layer:
New Raster – 800 X 800.
Open Paper 5. Open mask (WSL 254) and minimize.
SELECTIONS – SELECT ALL – Copy and paste Paper 5 into selection.
Go to LAYERS – NEW MASK LAYER – FROM IMAGE – SOURCE LUMINANCE - CHECKED – from menu, find WSL 254 – OK.
Duplicate and merge down.
(see tag for placement)
Now onto some elements:
Element 4 - C/P and move to lower left corner of tag. Make sure this layer is UNDER the frame layer(s). Duplicate and mirror.
Element 3 - C/P and re-size 50%. Move to bottom middle of frame.
Make sure this layer, and all other layer(s), are OVER the frame layer(s).
Add drop shadow to layers of your
choosing.
I've used
V & H 3
Opacity 90
Blur 10
Color Black
Now you can add name
and © information. Save as .png and re-size if you wish.
I re-size before I add
name and © info and then save.
Let me know what you think of
this tutorial.
Saturday, 5 July 2014
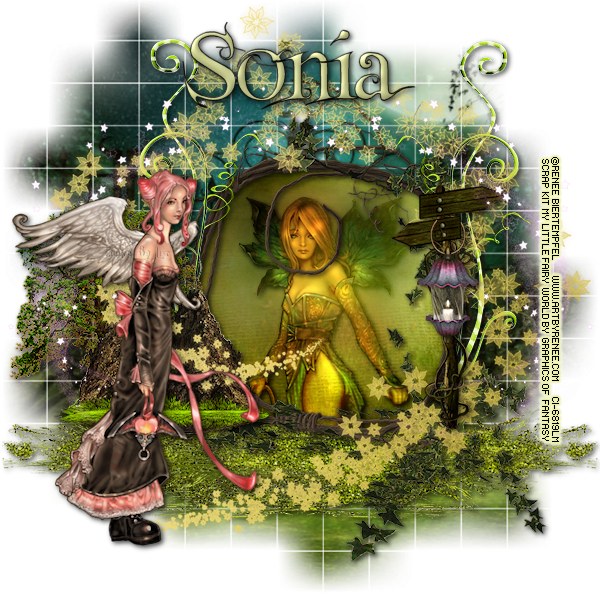
PTU My Little Magic Fairy World
This tutorial was written by me on July 5, 2014.
It was made out of my own creation and any similarity is purely
coincidental.
I used PSP X2 but any version would work.
Artist: Renee Biertempfel
I bought mine when it was still CILM
Do not use this tube
unless you have a license.
Scrap Kit: My Little Fairy World
You can buy this kit @ Graphics Of Fantasy HERE
Mask: WSL 84
HERE
Let’s start with the mask layer:
New Raster – 800 X 800.
Open Paper 1. Open mask (WSL 84) and minimize.
SELECTIONS – SELECT ALL – Copy and paste Paper 1 into selection.
Go to LAYERS – NEW MASK LAYER – FROM IMAGE – SOURCE LUMINANCE - CHECKED – from menu, find WSL 84 – OK. Duplicate and merge down. Re-size 115%.
Let’s start with the mask layer:
New Raster – 800 X 800.
Open Paper 1. Open mask (WSL 84) and minimize.
SELECTIONS – SELECT ALL – Copy and paste Paper 1 into selection.
Go to LAYERS – NEW MASK LAYER – FROM IMAGE – SOURCE LUMINANCE - CHECKED – from menu, find WSL 84 – OK. Duplicate and merge down. Re-size 115%.
NEW RASTER LAYER - C/Paste into selection Paper 9. Keep selected.
Now grab the tube you are using. If you are using the same one(s) as me, grab the first one now. Move her into position.
SELECTIONS - INVERT - DELETE - SELECTIONS - INVERT.
Duplicate the tube layer.
ADJUST – BLUR – GAUSSIAN BLUR – RADIUS 25 - OK.
Change BLEND MODE of copy of tube layer to HARD LIGHT and leave the original tube layer on OVERLAY.
(see tag for placement)
Now onto some elements:
Element 61 - C/P and move to bottom left side of tag. Make sure this layer is UNDER the frame layer(s). Duplicate and mirror.
(see tag for placement)
Element 144 - C/P and move to middle left side of frame. Make sure this layer and all other layer(s) are now to be OVER the frame layer(s). Duplicate and mirror and move into place.
(see tag for placement)
Element 54 - C/P and mirror and move to far left side over element 144 on left side of frame.
(see tag for placement)
Element 17 - C/P and move to lower middle of tag.
(see tag for placement)
Element 112 - C/P and re-size 50%. Move to far right side in front of element 144 on right side of frame.
(see tag for placement)
Element 16 - C/P and re-size 20%. Move to right side of tag over element 112. Erase parts of handle so it looks like it is hanging over plank.
(see tag for placement)
Element 134 - C/P and move to right side of tag over all elements. Duplicate and mirror.
(see tag for placement)
I place the tube layer(s) here:
If you are using the same tube(s) as me. C/P second tube. Mirror and move to the bottom left side of tag.
Add drop shadow to layers of your
choosing.
I used
V & H 2
Opacity 70
Blur 7
Color Black
Now you can add name
and © information. Save as .png and re-size if you wish.
I re-size before I save and add
name and © info.
Let me know what you think of
this tutorial.
Wednesday, 25 September 2013

This tutorial was written by me on September 25, 2013.
It was made out of my own creation and any similarity is purely coincidental.
I used PSPx2 but any version will do.
Artist: Renee Biertempfel
You can find this tube at Creative Design Outlet HERE
Please Don't use this tube without a license.
Scrap Kit: Autumn Sunset by HorsePlay's Pasture HERE
You can buy this kit at Scraps From The Heart
Mask: HorsePlay's Pasture Mask 19 HERE
Font: Good Vibrations ROB Font HERE
Here goes:
Let’s start
with the mask layer:
New Raster – 800 X 800.
Open P08. Open mask and minimize.
SELECTIONS – SELECT ALL – Copy and paste PP17 into selection.
Go to LAYERS – NEW MASK LAYER – FROM IMAGE – SOURCE LUMINANCE - CHECKED – from menu, find HorsePlay's Pasture Mask 19 – OK. Duplicate and merge down. Re-size 110%.
Gonna do a few elements right now:
Element 16 - C/P and move to the lower left side of tag.
(see tag for placement)
Element 20 - C/P and move to the lower right side of tag. Duplicate and mirror.
(see tag for placement)
Element 19 - C/P and move to left side of tag. Duplicate at least six more times and move so that it looks like a line of grass. Merge all those layers down.
(see tag for placement)
Element 80 - C/P and re-size 60%. Move to right side of tag in front element 19. Duplicate and mirror.
(see tag for placement)
Element 55 - C/P and move to top left corner of tag.
(see tag for placement)
Let’s do the frame layer now:
New Raster – 800 X 800.
Open P08. Open mask and minimize.
SELECTIONS – SELECT ALL – Copy and paste PP17 into selection.
Go to LAYERS – NEW MASK LAYER – FROM IMAGE – SOURCE LUMINANCE - CHECKED – from menu, find HorsePlay's Pasture Mask 19 – OK. Duplicate and merge down. Re-size 110%.
Gonna do a few elements right now:
Element 16 - C/P and move to the lower left side of tag.
(see tag for placement)
Element 20 - C/P and move to the lower right side of tag. Duplicate and mirror.
(see tag for placement)
Element 19 - C/P and move to left side of tag. Duplicate at least six more times and move so that it looks like a line of grass. Merge all those layers down.
(see tag for placement)
Element 80 - C/P and re-size 60%. Move to right side of tag in front element 19. Duplicate and mirror.
(see tag for placement)
Element 55 - C/P and move to top left corner of tag.
(see tag for placement)
Let’s do the frame layer now:
Element 30 – C/P and re-size 80%. Free rotate right 50º
Grab your magic wand. Click in the middle of element. SELECTIONS – MODIFY – EXPAND 8 PIXELS. New Raster Layer. Move under frame layer. Open P02. Copy and paste into selection. Keep selected.
Grab the version of tube you wish to use and move into place. Free rotate the tube 50º right. Duplicate the tube layer. ADJUST – BLUR – GAUSSIAN BLUR – RADIUS 25 - OK
Change BLEND MODE of copy of tube layer to HARD LIGHT and go to original tube layer and change BLEND MODE to LUMINANCE (L). Change OPACITY to 50%.
(see tag for placements)
Grab your magic wand. Click in the middle of element. SELECTIONS – MODIFY – EXPAND 8 PIXELS. New Raster Layer. Move under frame layer. Open P02. Copy and paste into selection. Keep selected.
Grab the version of tube you wish to use and move into place. Free rotate the tube 50º right. Duplicate the tube layer. ADJUST – BLUR – GAUSSIAN BLUR – RADIUS 25 - OK
Change BLEND MODE of copy of tube layer to HARD LIGHT and go to original tube layer and change BLEND MODE to LUMINANCE (L). Change OPACITY to 50%.
(see tag for placements)
Now for some more elements after frame layers:
Element 11 – C/P and mirror and move right.
(see tag for placement)
Element 22– C/P and re-size 40%. Mirror and move to right side over element 11.
(see tag for placement)
Element 22– C/P and re-size 40%. Mirror and move to right side over element 11.
(see tag for placement)
Element 12 – C/P and move to bottom middle but a bit right.
(see tag for placement)
Element 38 – C/P and re-size 50%. Move to bottom and on left side of element 12.
(see tag for placement)
Element 37 - C/P and re-size 40%. Move to bottom and to left side of element 38.
(see tag for placement)
Element 15 - C/P and re-size 40%. Move to bottom and to right side of element 12.
(see tag for placement)
(see tag for placement)
Element 37 - C/P and re-size 40%. Move to bottom and to left side of element 38.
(see tag for placement)
Element 15 - C/P and re-size 40%. Move to bottom and to right side of element 12.
(see tag for placement)
Element 14 – C/P and re-size 40%. Move to bottom right but to left of element 15.
(see tag for placement)
Element 52 - C/P and re-size 30%. Mirror and move to upper right side. Have him sitting on part of element 11.
(see tag for placement)
I place the tube layer here:
If you are using the same tube(s) as me, open now. Grab the separate fairy and move her over element 38. Make it so she looks like she is sitting on barrel. Grab the separate mouse and move him over element 37. Make him look like he is sitting on apples.
(see tag for placement)
(see tag for placement)
Element 52 - C/P and re-size 30%. Mirror and move to upper right side. Have him sitting on part of element 11.
(see tag for placement)
I place the tube layer here:
If you are using the same tube(s) as me, open now. Grab the separate fairy and move her over element 38. Make it so she looks like she is sitting on barrel. Grab the separate mouse and move him over element 37. Make him look like he is sitting on apples.
(see tag for placement)
Add drop shadow to layers of your
choosing.
I used
V & H 2
Opacity 70
Blur 7
Color Black
Now you can add name and © information. Save as .png and re-size if you wish.
Now you can add name and © information. Save as .png and re-size if you wish.
I re-size before I save and add
name and © info.
Let me know what you think of
this tutorial.
Subscribe to:
Posts
(Atom)